My brother and sister-in-law recently remodeled their kitchen. I made these place mats for their Christmas gift. Reverseable Place mats -tutorial one is posted
here.
Before building the quilt sandwich, iron the fabric and quilt batting. Next lay the back fabric good side down on the table, I use carpenter's clamps on the edges and packing tape where the clamps won't fit to pull the fabric taut but not stretched.
Lay the quilt batting on top smooth it out flat.
Put the fabric top on, then pin or tack the three layers together. I used quilting safety pins, they are bent making them a bit easier to push through all the layers.
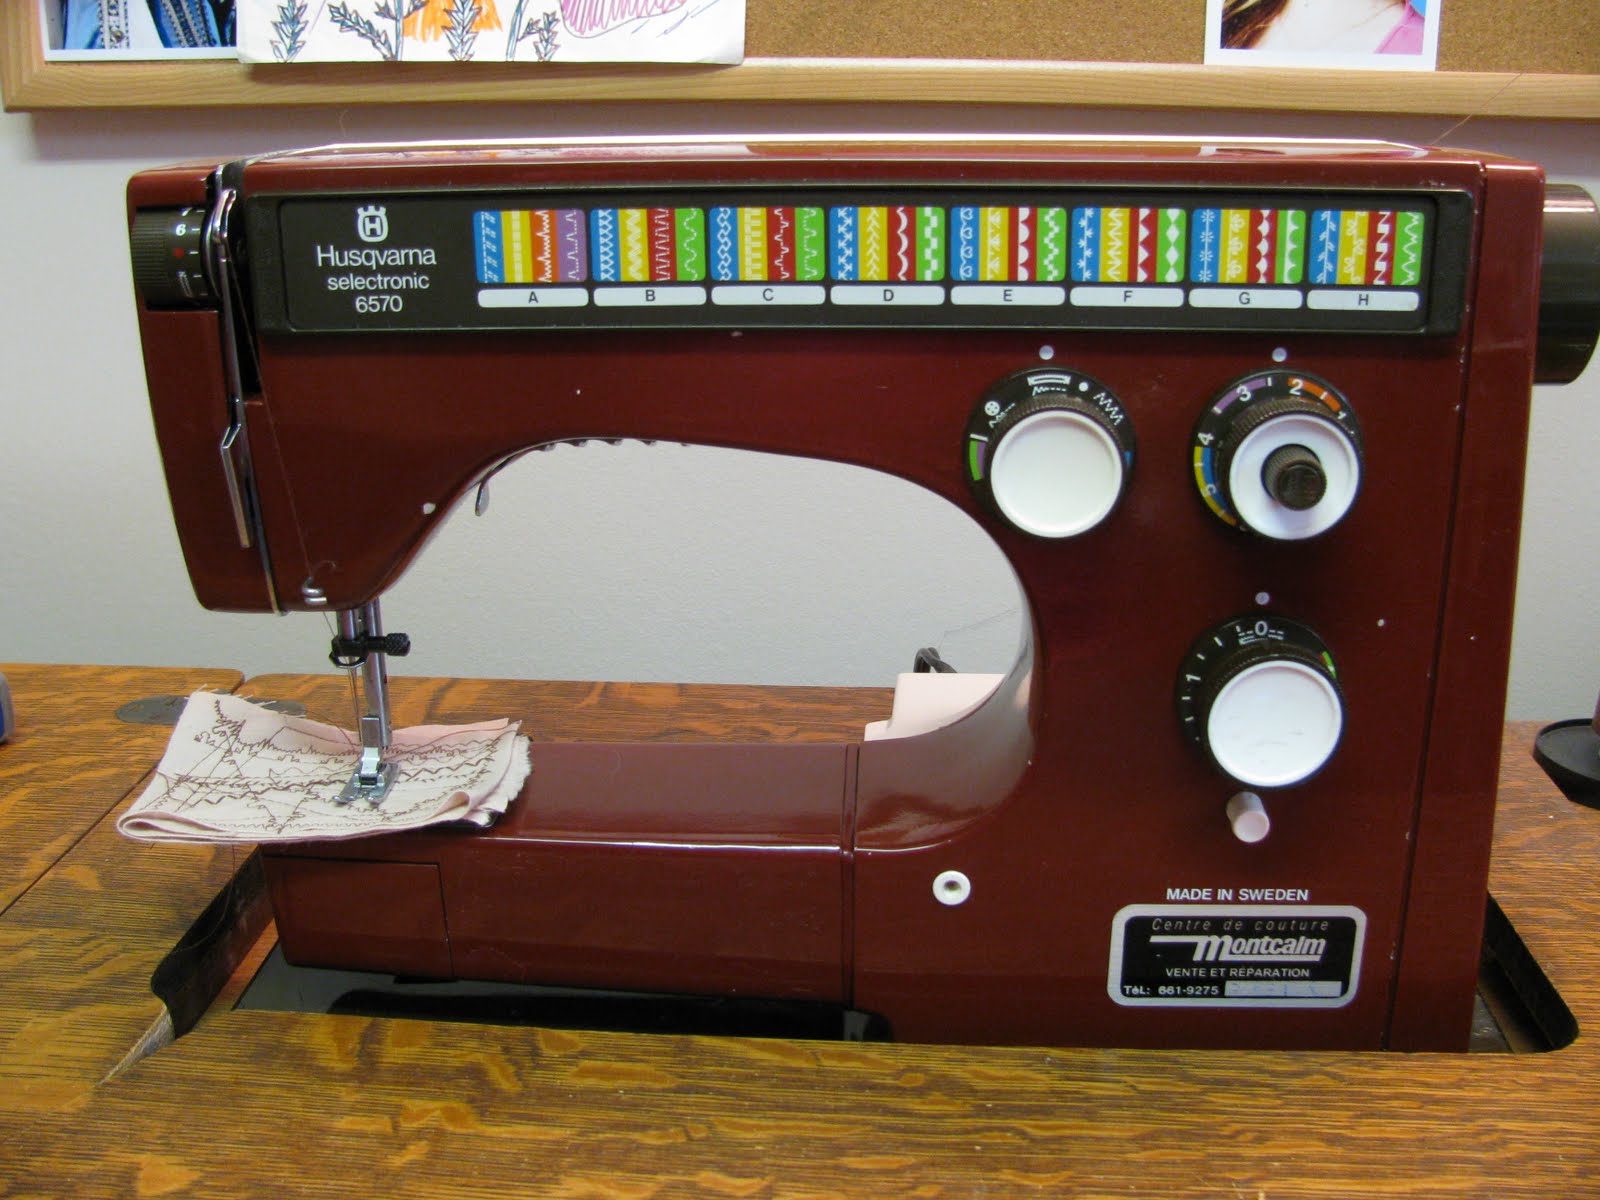
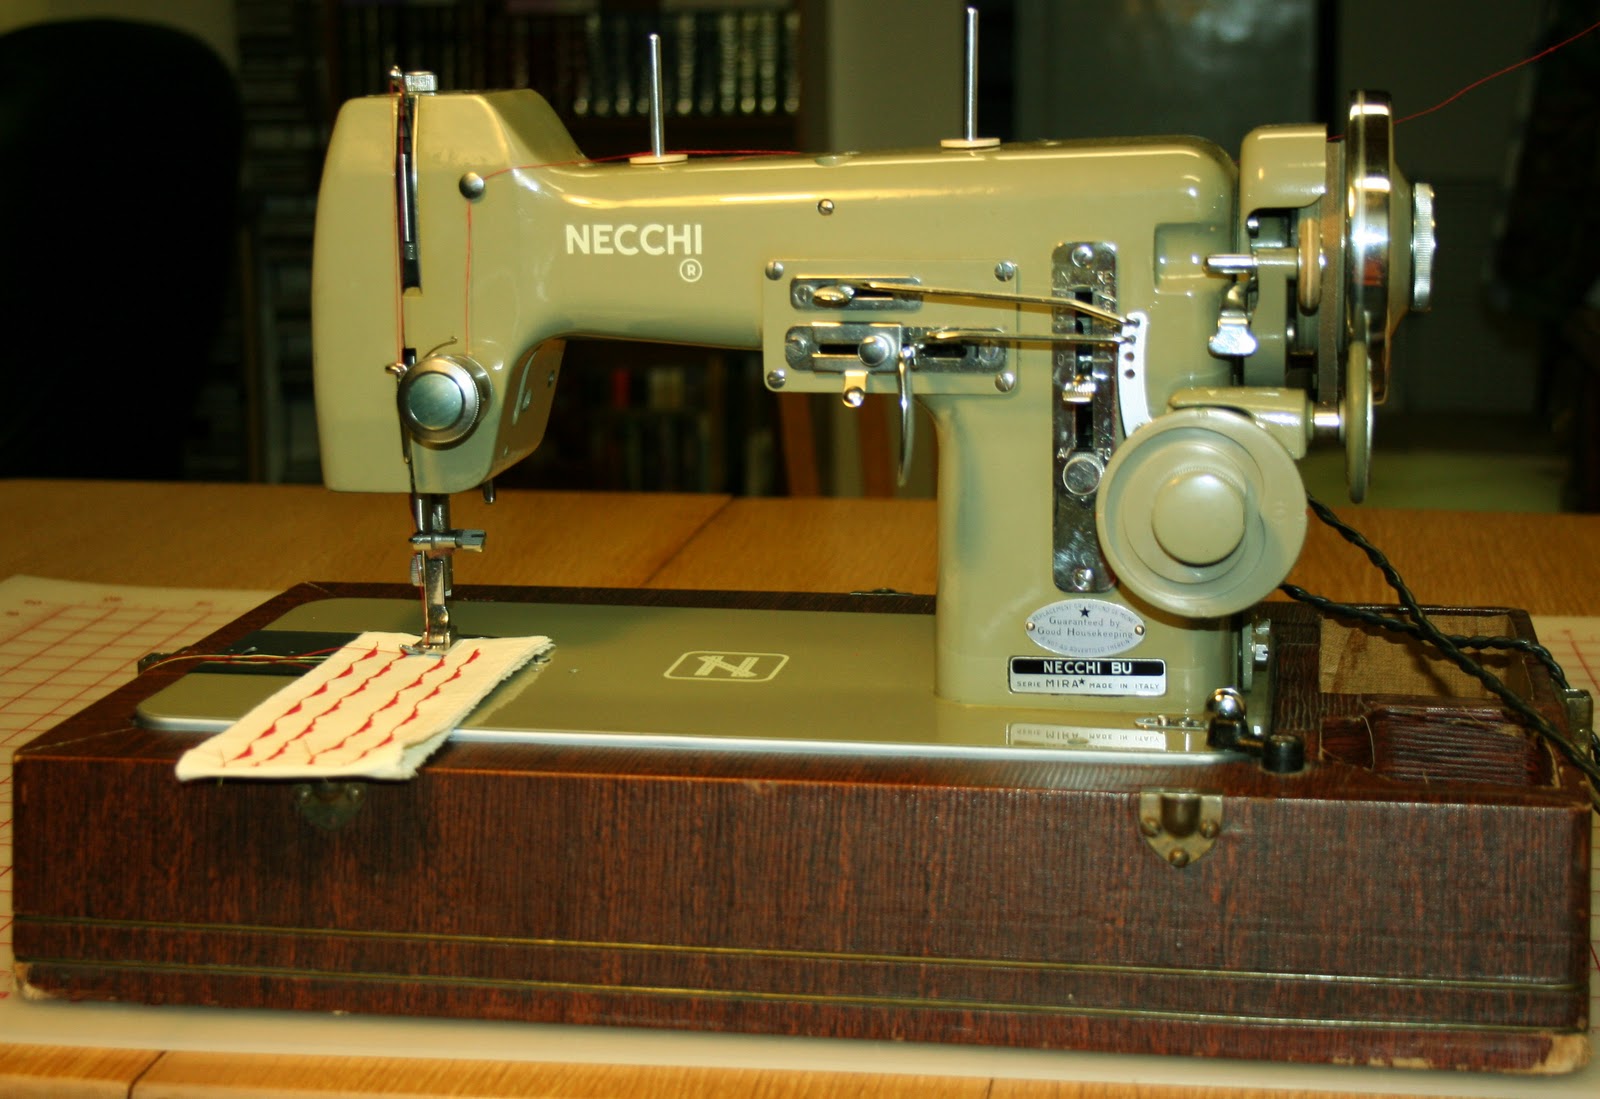
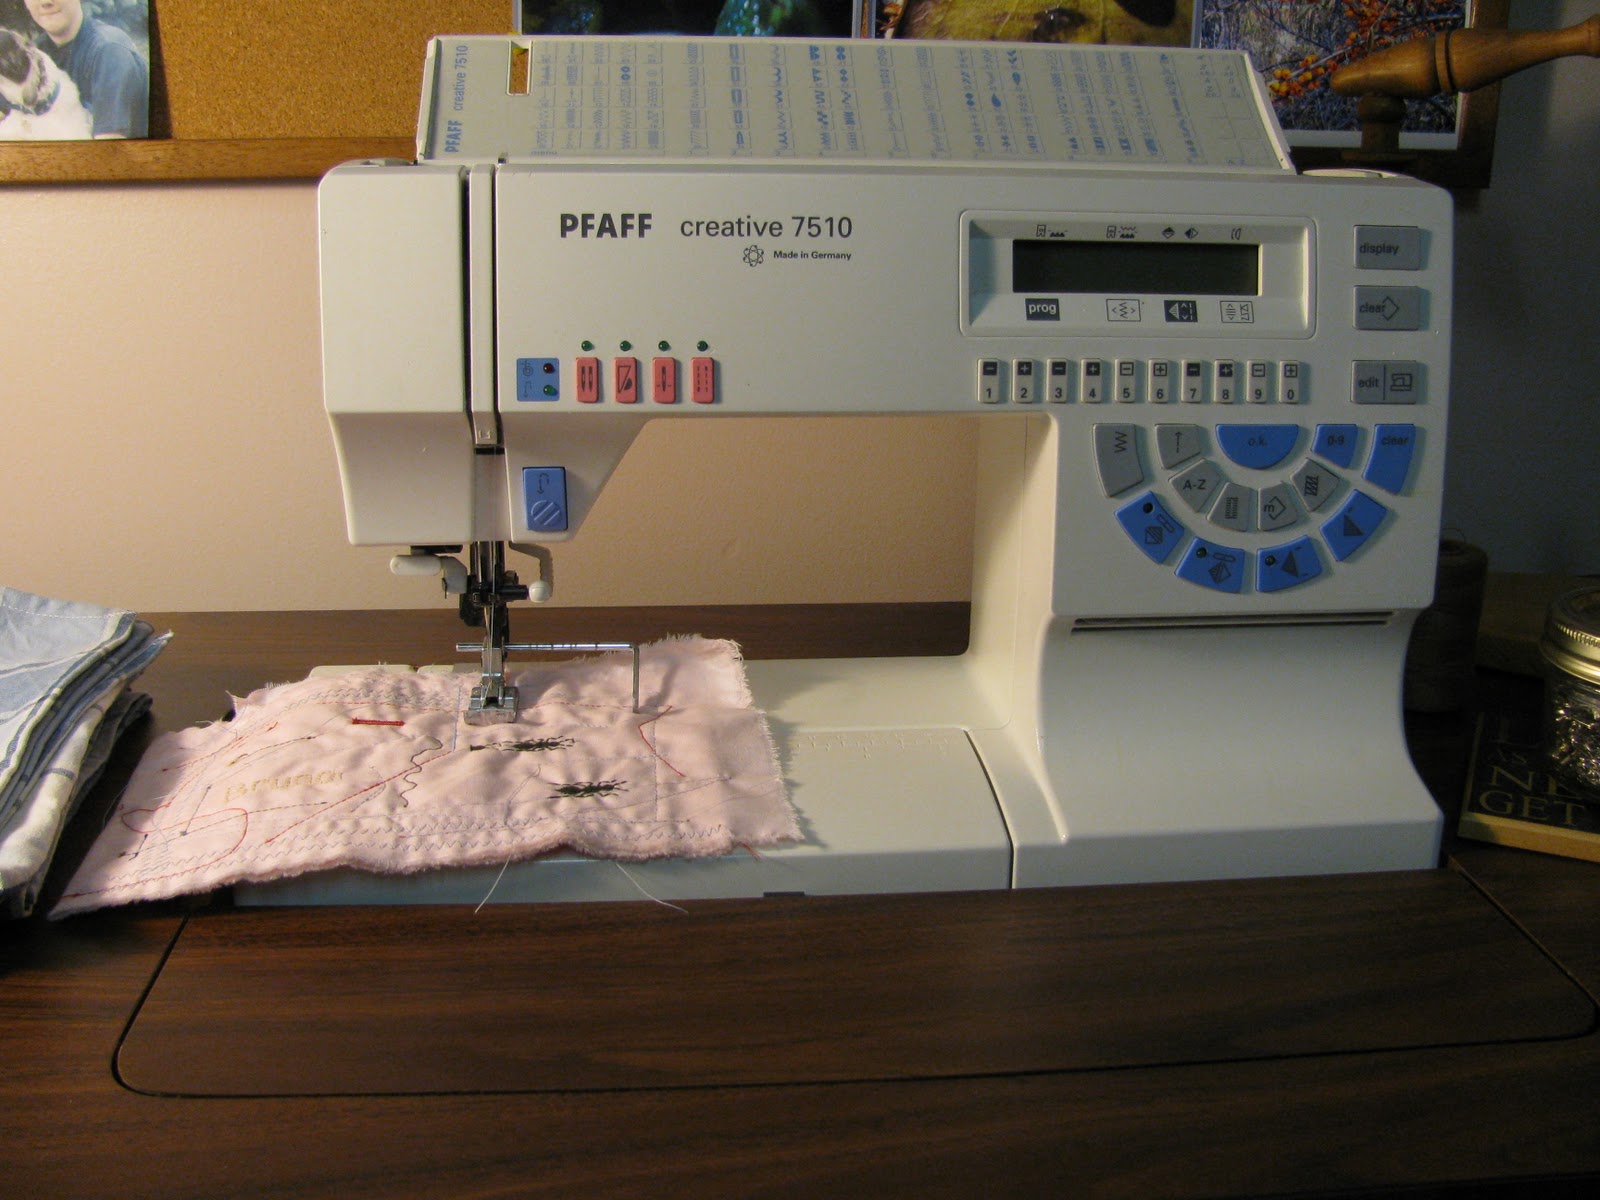
Free motion quilting heart-shaped leaves.
These place mats are 12 by 18 inches. I measured the fabric before cutting to get the most place mats possible.
Eight place mats and five pot holders.
This is the binding fabric.
Of all the steps involved in quilting and sewing, ironing is the one I enjoy the least. However, there is no way to make binding without ironing, so I grin and bear it.
These strips are 2.25" wide.
Stitch the marked diagonal line.
Cut corner off leaving a 1/4 inch seam allowance.
Trim the dog ears off.
Press seam flat and open.
Fold fabric in half and iron flat.
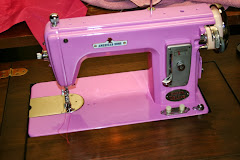
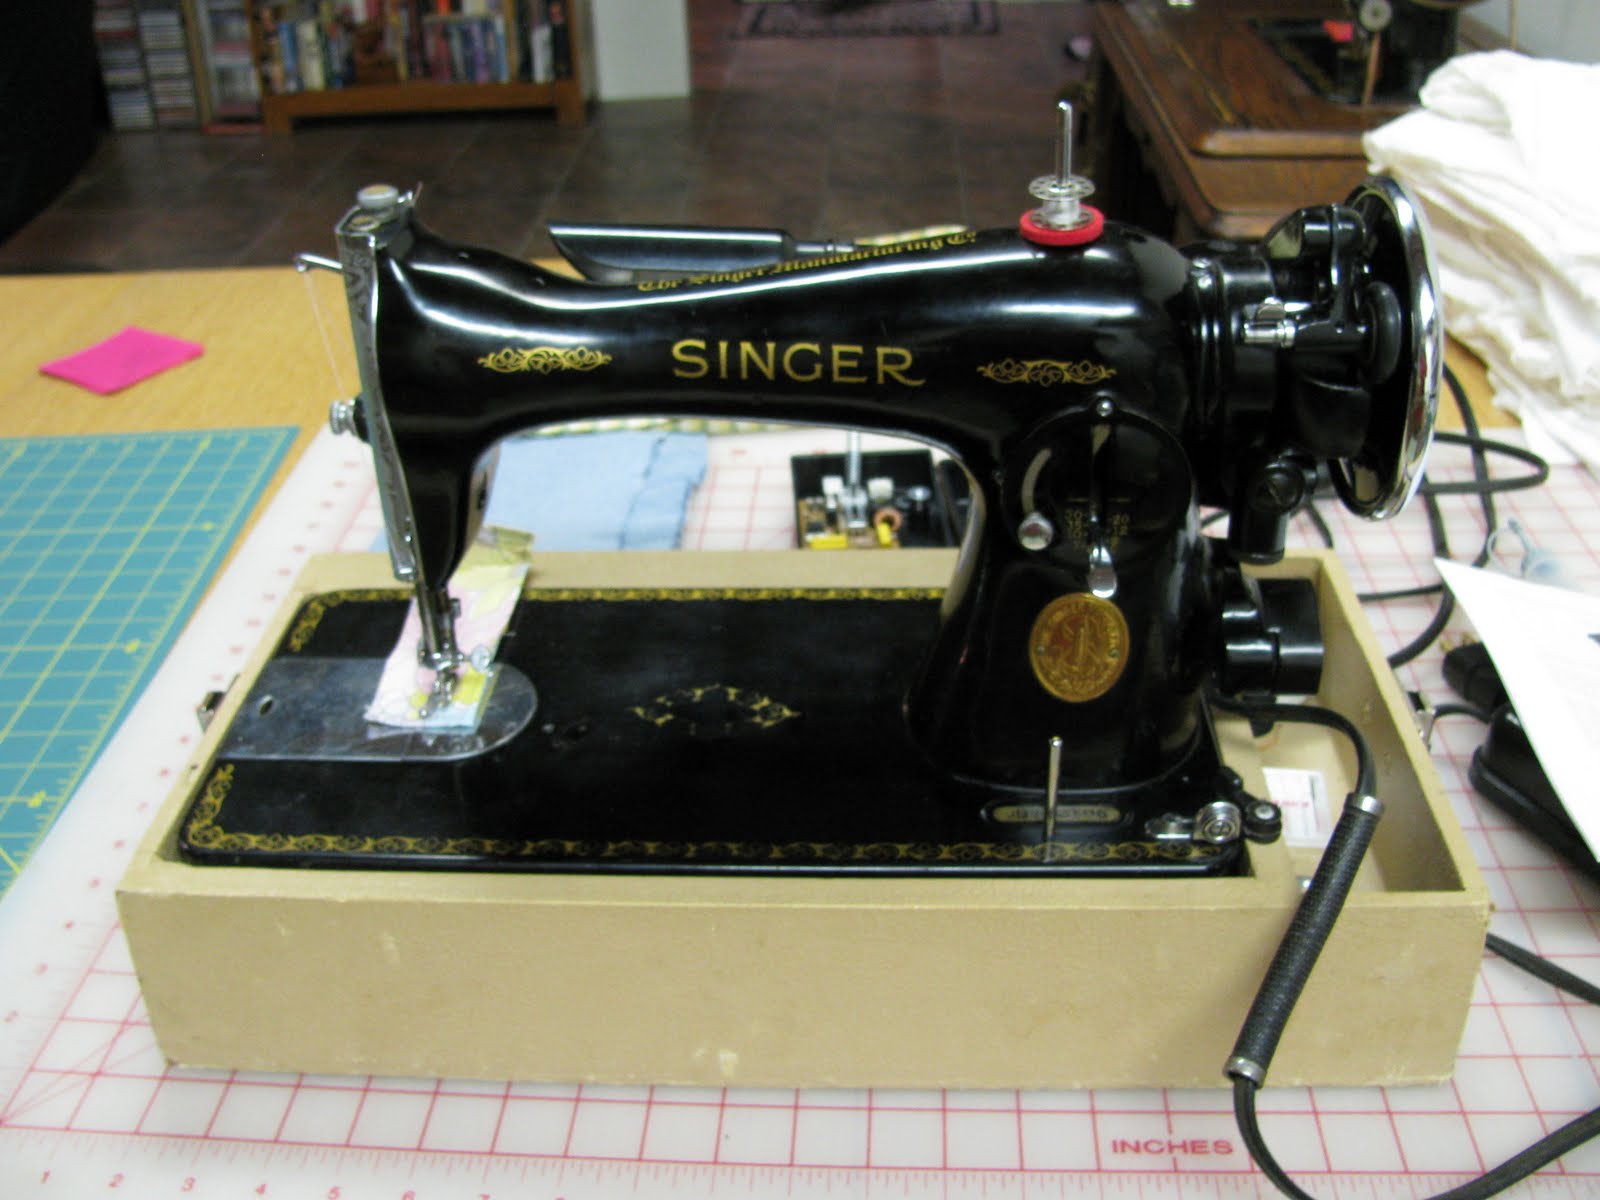
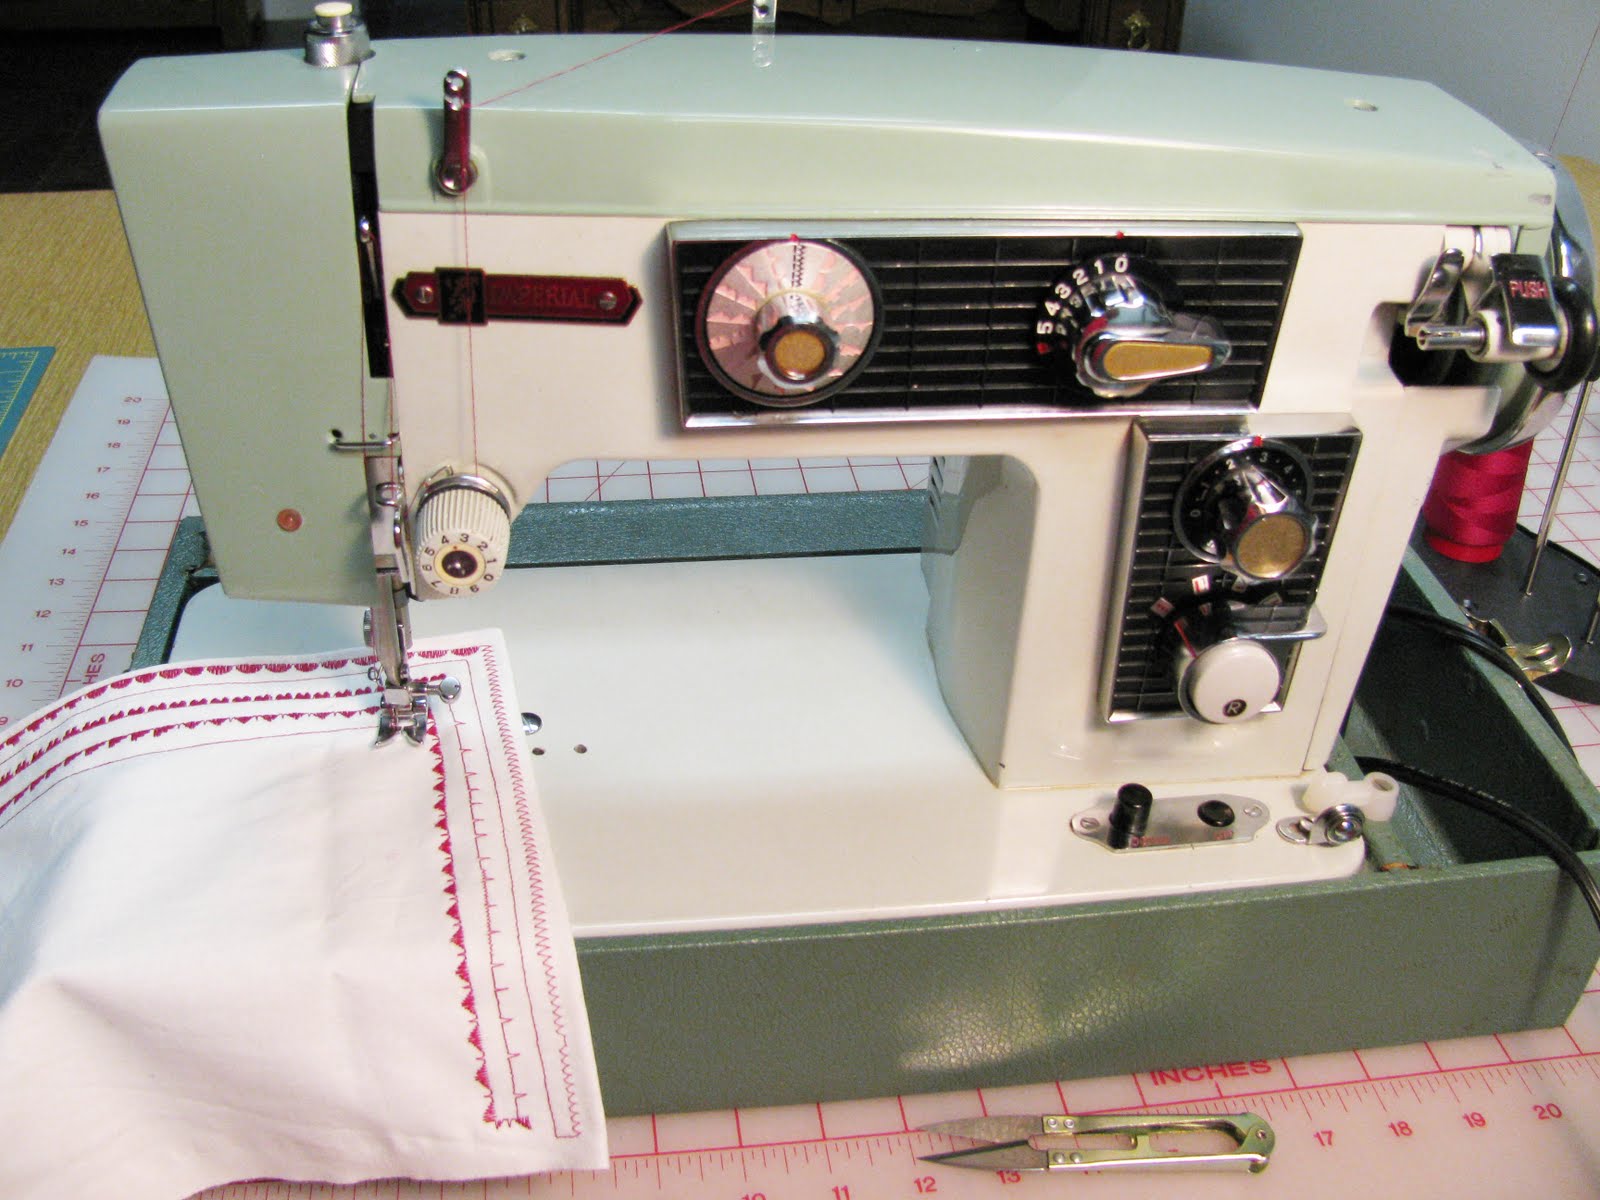
Rather than hand stitching the binding back in place, I machine stitch using a 3 step zig-zag stitch on the front side.
I do this for two reasons: first machine stitching is stronger. Since my quilts and place-mats are for frequent use, they require regular laundering.
Secondly, it is faster and I am basically lazy, too lazy to hand stitch all the binding.


 Kitchen towel tutorial is here.
 The remaining binding and quilted fabric were used up.

 I'm linking this post to Sew Cal Gal's Homemade Christmas Challenge.